How to Make a Pinch Pot: A First Clay Project for Absolute Beginners
Most first pots are crooked. The rim wobbles, one side is thinner than the other, and there is a thumbprint in the base that refuses to smooth out. That is exactly what should happen. A pinch pot asks almost nothing of you — a lump of clay, two hands, some patience — but it teaches the three things every potter eventually has to feel rather than read: how thick the walls are, how wet the clay is, and when to stop touching it.
Set aside an hour, cover the kitchen table, and make three pots instead of one. The third will be better than the first, and none of them needs to be good. They need to be made.
What a Pinch Pot Is, and Why Start There
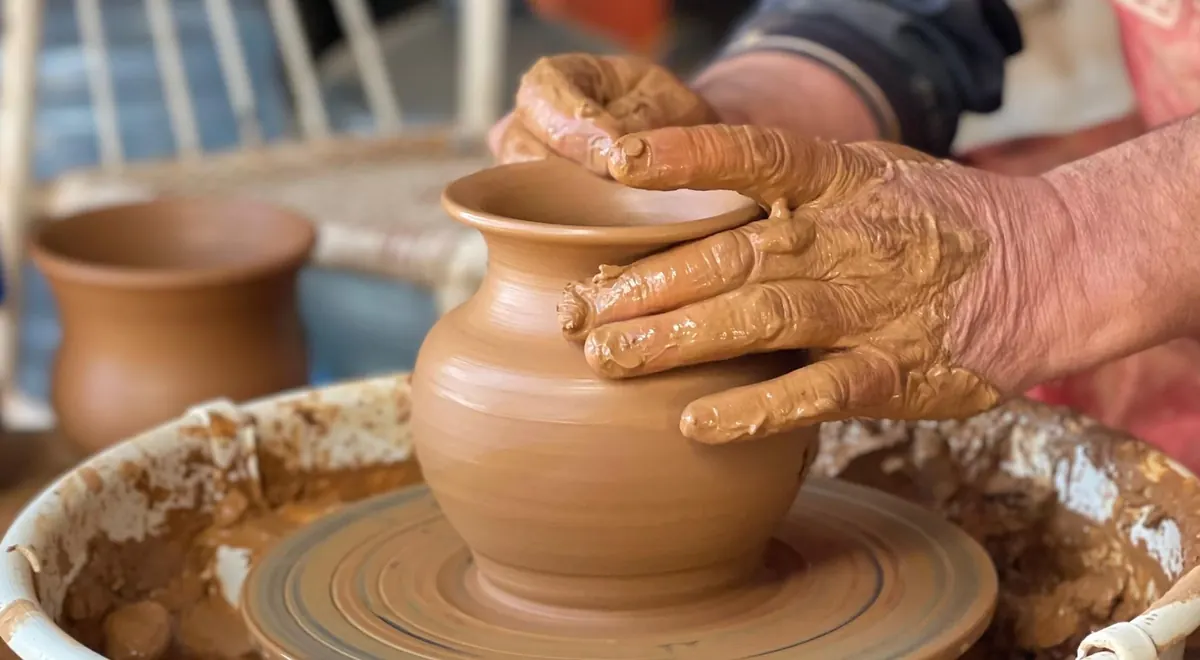
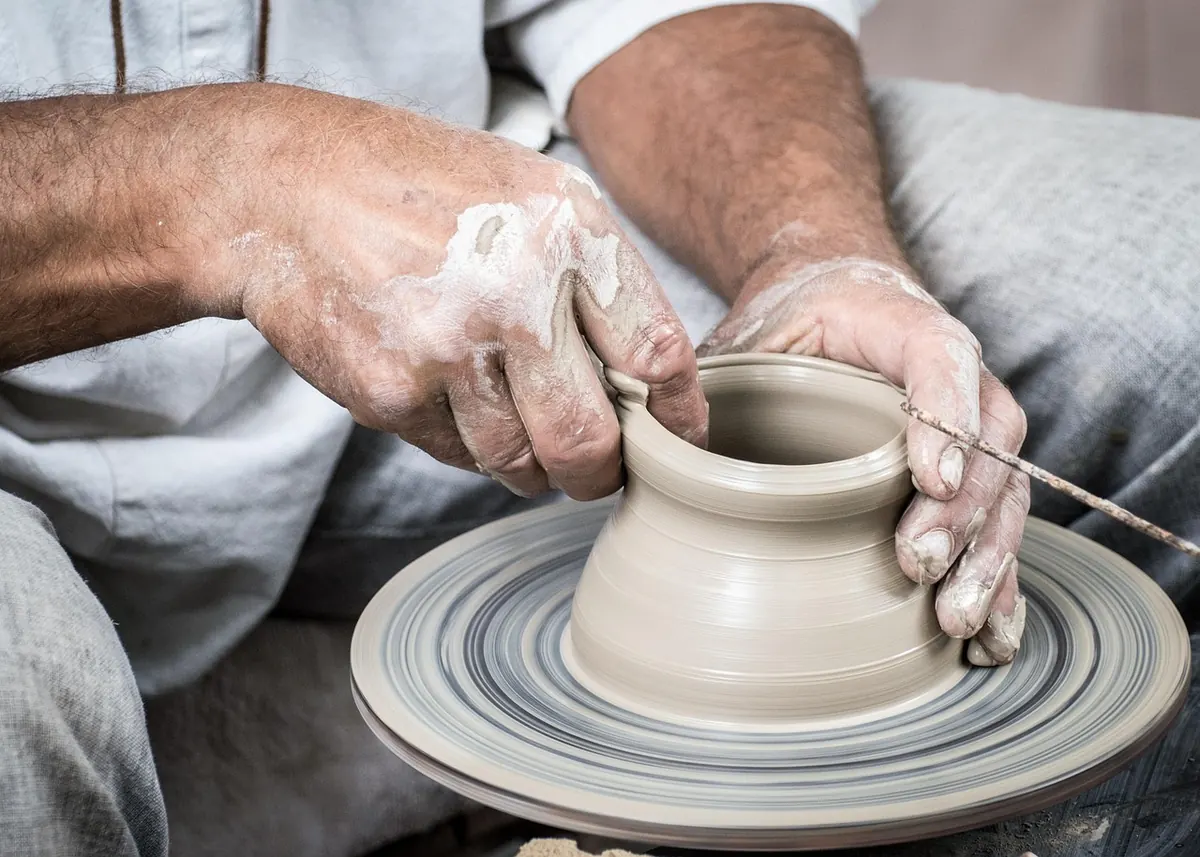
Take a ball of clay, press your thumb into the middle, and widen the hollow by pinching the walls between thumb and fingers while you turn the ball. That is the entire method. No wheel, no studio, no tools beyond your hands and a sponge.
It is one of the oldest and most direct ways of making a vessel, and it remains the best diagnostic exercise in pottery. Everything that goes wrong in a larger project — uneven walls, trapped air, clay that dries too fast — shows up here within twenty minutes, at a scale small enough to correct. A potter who can pull an even pinch pot can usually throw or hand-build with more control, because the hand has learned what a wall should feel like.
Choosing Clay and Setting Up
Use a smooth, plastic stoneware or a mid-range earthenware. Heavily grogged clay, the kind with visible sand or fired-clay grit, holds up better in large sculptural work but is rough on beginner fingers and dries quickly; save it. Fresh clay should feel cool and slightly damp, not sticky. If it is stiff, sprinkle it with water, wrap it tightly in plastic, and leave it overnight rather than fighting it dry.
- About 500 g (roughly 1 lb) of clay — enough for two or three attempts
- A non-stick work surface: canvas, a wooden board, or a plaster bat
- A small bowl of water and a sponge
- A wooden or rubber rib, the flat shaping tool
- A needle tool or a sewing pin, for checking wall thickness
- A fork or scoring tool, if you plan to add a foot or handle
- A plastic bag or damp cloth for wrapping the pot between sessions
Take off rings, cut your nails short, and tie your hair back. Clay dust contains silica, so avoid sweeping up dry trimmings — wipe surfaces with a damp sponge and clean up slurry before it dries. Wear a dust mask later, when you sand a bone-dry pot.
Shaping the Pot, Step by Step
Work at a comfortable height, standing or sitting, with the clay in front of you rather than under your chin.
- Weigh and wedge. Take 250–350 g for a pot the size of a fist, 500 g for something closer to a rice bowl. Wedge the clay by pressing it into a block, folding it over, and repeating for a minute or two. This evens out the moisture and knocks out air pockets that would otherwise blow a hole in the kiln.
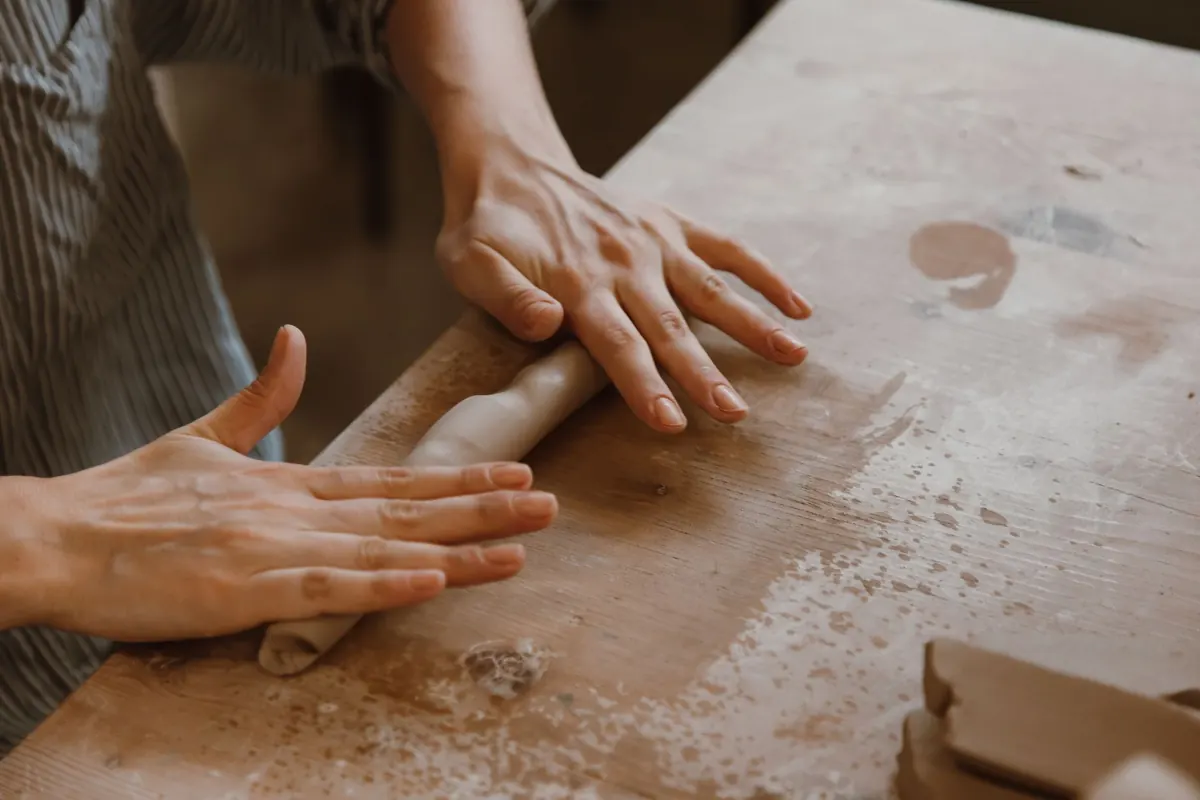
- Roll a ball. Roll it between your palms, then cup it under one hand on the board and move it in slow circles until it is round and smooth. Surface cracks mean the clay is too dry: spritz it, wrap it, wait half an hour.
- Open the centre. Hold the ball in your cupped non-dominant hand and press your thumb into the middle, stopping about a finger's width short of the base. If you are unsure of the depth, push a needle tool through the side until it touches your thumb, then use that mark as a guide.
- Make the first round of pinches. Thumb inside, fingers outside, and pinch gently all the way around. Do not try to thin the wall in one pass; you will thin one spot and leave the rest thick.
- Go around two or three more times. Each round should move the wall a little closer to its final thickness and spread the opening a little wider. Turn the ball steadily in your hand, a few degrees at a time.
- Check the thickness. Poke a pin through the wall near the base, then near the rim, and compare. On a small pot you are aiming for walls a few millimetres thick and a base that is noticeably thicker than the sides.
- Set it down and shape. Rest the pot on the board and rotate it gently against the surface to round the base. Widen the rim with your fingertips if you want an open bowl rather than a cup.
- Compress the rim. Run a damp fingertip around the top edge to firm and round it. This small step prevents the rim cracks that appear days later.
The pinch itself
Pinch with the pads of your thumb and fingers, never the nails, and think of the thumb inside as a small anvil: your outside fingers push the wall against it rather than squeezing freely. Keep the pressure light. Clay moves easily when it is fresh, and a wall that is squeezed hard thins suddenly and cannot be pushed back.
If a spot starts to feel thin, stop working it. Move clay from a thicker area by pressing with your thumb, rather than patching on a piece — patched clay dries at a different rate and often separates in the firing.
Rounding the base
Pinch pots tend to sit like a slightly deflated ball. Once the pot is firm enough to hold its shape, set it on the board and rotate it while pressing the base flat with your palm. At the leather-hard stage, a few minutes with a rib or the back of a spoon will tidy the curve between wall and base.
Even Walls Are the Whole Skill
Almost every problem in a beginner's pinch pot comes down to thickness. Walls that vary from two millimetres to eight will dry at different rates, pull in different directions, and crack along the thinnest line. Useless to aim for perfection; aim for consistency instead.
Two habits help. First, rotate the pot rather than your hand — the hand does the same motion every time, which makes an even wall far more likely. Second, check as you go. A pin stuck through the wall near the base and again near the rim tells you more than your fingertips will for the first few pots. Keep a small dish of water nearby for smoothing, but use it sparingly: clay that has been over-wetted turns soft and collapses under its own weight.
Drying Slowly, or All That Work Cracks
Rushing the drying stage ruins more first pots than bad pinching does. Cover the finished pot loosely with a plastic bag or a damp cloth and leave it somewhere cool and out of direct sun for a few days. Open the bag a little more each day so the moisture leaves gradually; in a damp climate, this can take a week.
When the pot is leather-hard — cool to the touch, firm enough to pick up without denting, but still slightly soft — tidy the base, smooth the surface, and add any texture or attachments. Then turn it upside down on a board so air reaches the base as well as the rim. Avoid radiators, sunny windowsills, and hairdryers; all of them dry the rim before the base and pull the pot out of shape. A pot is bone dry when it feels room temperature against your cheek and looks uniformly pale. Only then is it ready for a kiln.
Finishing and Firing
At the leather-hard stage, smooth the surface with a wrung-out sponge or a rubber rib, press texture in with a fork, a shell, or the back of a spoon, and attach a foot or handle by scoring both surfaces, painting on slip, and pressing firmly. At the bone-dry stage, sand any rough spots lightly and wipe away the dust.
Bisque firing comes next, either through a local studio, a community kiln, or a firing service attached to a ceramics supplier. After that, the choice is simple. A decorative pot can stay unglazed or be waxed. A pot meant for drinking or eating from needs a food-safe glaze on the interior and a firing to the temperature the clay was rated for, because unglazed earthenware stays porous and will sweat through. If you are unsure which glaze suits your clay, ask whoever fires the work.
Make Three, Keep Notes
Make a small batch rather than a single pot, and keep the worst one. It will remind you how much your hands learned in a week. Label the base of each with the date and the clay body, and jot down how long it took to dry.
Then make another one from the same bag of clay. Same thumb, same motion, slightly better wall. That repetition, more than any tool or trick, is what turns a first pinch pot into a habit worth keeping.
Photo: DomPixabay / Pixabay
You Might Also Like
A practical field guide to finding, sampling, and testing wild clay along Italy’s coast, with safe collecting habits and simple tests for potters.
A practical costing checklist for small pottery studios, covering materials, kiln time, labor, overhead, and the wholesale and retail margins that turn a base cost into a fair shelf price.