Finding and Testing Wild Clay: A Coastal Italy Field Guide
The first time you notice clay in the coastal landscape, it rarely looks like a bag of prepared ceramic material. It is a slick grey smear in a drainage ditch, a cracked patch at the edge of a field, a sticky layer exposed after winter rain. Along Italy’s coast, those small encounters are worth following up, but they demand patience. Wild clay is variable, sometimes salty, often sandy, and rarely ready to throw straight from the ground. What follows is a field-minded routine: identify a likely deposit, take a small sample responsibly, run simple bench tests, and fire a test tile before you commit to a bucketful.
What Coastal Clay Looks Like in the Field
Clay is a particle size, not a colour. In coastal Italy, it turns up where water slows and fine sediment settles: lagoon margins, floodplains, drainage channels, road cuts, landslips, and ploughed fields near the sea. After heavy rain, fresh exposures are easier to read. In summer, the same deposit may be a hard, cracked crust that looks more like stone than pottery material.
Look for ground that holds water a little too long, or mud that feels soapy between your fingers. Dry clay often breaks into blocky clods with smooth faces, while sandy soil crumbles. Colour is a poor guide on its own. Iron gives ochre, red, and orange tones; organic matter makes grey and black clays; marine and lagoon deposits can be blue-grey. Shell fragments, fine sand, roots, and pebbles all tell you something about how much preparation the clay will need.
Reading the ground before you dig
A simple field ribbon test helps. Moisten a walnut-sized piece, work it into a sausage, then flatten it between your thumb and forefinger into a ribbon. If it hangs without breaking, the clay content is probably high. If it cracks immediately, there is a lot of sand or silt. This does not tell you how the clay will fire, but it tells you whether the material is worth sampling.
Be careful where that curiosity leads. Dunes, sea cliffs, active landslips, salt marshes, protected reserves, and archaeological sites are not collecting grounds. Coastal banks can be unstable, and digging into them can cause damage or put you in danger. Ask the landowner or local authority before taking material, and keep away from industrial ground, roadside spoil, and places where contaminants may have accumulated.
Collecting a Sample Without Causing Harm
Take less than you think you need. A kilogram or two is enough for shrinkage bars, small test tiles, and a few pinch pots. Remove the topsoil first, then sample distinct layers separately if the bank shows more than one colour or texture. Mixing a sandy layer with a plastic layer at the outset tells you very little.
- Bring a hand trowel, strong bags, a permanent marker, and a phone for photographs.
- Label each bag with the location, date, depth, and weather conditions.
- Note the colour, feel, smell, and any visible shell, sand, or root content.
- Take from already disturbed ground where permission allows, rather than carving into a pristine bank.
- Fill small holes if you are on working land, and leave gates and fences as you found them.
Coastal clay can carry soluble salts, especially from lagoon or marine deposits. That does not make it unusable, but it does mean you should test for white scumming and firing problems rather than assume a smooth result. Wear gloves, and avoid breathing dust from dry clay. Silica dust is a real hazard when you sieve, crush, or sand dry material; work outdoors or with good ventilation and use a suitable dust mask.
First Tests at Home: Drying, Slaking, and Sieving
Spread the sample out and let it dry slowly, away from direct sun if possible. Once dry, break it into small chunks and cover it with water. Some clays slake down within hours; others need days and repeated stirring. Do not force the process with heat. When the material has softened, stir it into a slurry and pass it through a sieve to remove roots, stones, and coarse shell. Visible limestone fragments are worth removing because they can cause lime pops during firing.
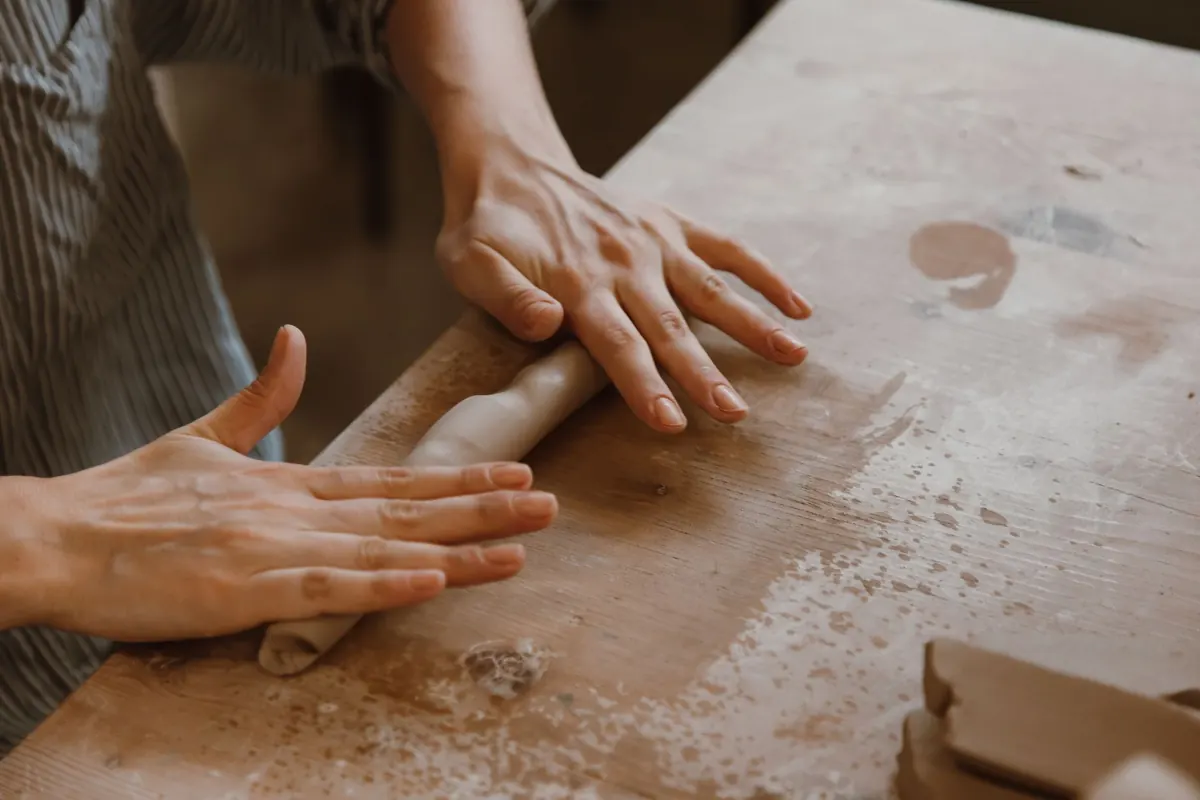
Now make a drying-shrinkage bar. Roll a small bar about ten centimetres long, mark two points with a finger or a blunt tool, and measure the distance between them. Let the bar dry under plastic or in a cool room so it dries slowly. Measure again when it is bone dry. Record the change as a percentage. A bar that curls, cracks, or shrinks dramatically is telling you the clay is highly plastic or water-retentive; a bar that crumbles was probably too sandy to begin with.
A jar sedimentation test gives a rough picture of the particle mix. Fill a clear jar one-third with dry clay, add water, shake well, and let it settle. Sand drops first, then silt, then clay. Mark the layers after an hour and again after a day. You will not get laboratory precision, but you will learn whether your sample is mostly sand or mostly fine clay, which guides how you blend it later.
Bench Tests That Tell You More
Plasticity is the next question. Roll coils and keep thinning them until they crack. A clay that cracks while the coil is still thick is short and likely needs more fine material or a plastic commercial clay added. A clay that rolls very thin without cracking may be over-plastic and prone to shrinkage; sand or grog can help open it up. Make a few small pinch pots and dry them beside the shrinkage bars. Watch for cracks at the base, rims that lift, or pieces that warp as they dry.
Keep the tests small and repeatable. A useful sequence is: dry the sample, slake it, sieve it, make three shrinkage bars, make three small tiles, and record everything. If you already work with a commercial clay body, make a second set of tiles from a 50/50 blend. Wild clay is often most useful as an addition rather than a solo material. A sandy coastal clay may add texture and reduce shrinkage; a very sticky clay may need opening up with sand, grog, or a leaner commercial body.
Firing Test Tiles and Judging the Result
Firing is where a promising mud becomes a real clay body, or does not. Make tiles about a centimetre thick, dry them slowly, and fire them alongside a tile of a clay you already trust. Fire to the temperature you actually intend to use, not to a vague “hot” setting. Earthenware, mid-range, and high-fire bodies behave differently, and a wild clay that survives one range may bloat, warp, or crack in another.
After firing, look at colour, warping, cracks, bloating, and surface scum. Small craters or pits can come from limestone particles; white haze can come from soluble salts. Test absorption by weighing a dry fired tile, soaking it in water, and weighing it again. The gain in weight gives you a rough absorption figure. High absorption is normal for earthenware and fine for plant pots, but it matters for food-contact ware. Do not use wild clay for plates, cups, or cooking vessels unless the fired material has been properly assessed by a qualified laboratory and the body and glaze are suitable for the job. Home tests are a starting point, not a food-safety certificate.
A Practical Closing: Build a Small Clay Log
Keep a notebook or a simple spreadsheet for every sample. Record the place, date, depth, colour, feel, sieve result, shrinkage, firing temperature, and any blending ratios. Add a photograph of the fired tile. Over a season, that log becomes more useful than any single lucky find. Coastal collecting is seasonal: winter rain opens banks, summer dries them hard, and spring is often good for sampling before vegetation takes over.
Start with one bucket, one sieve, and three test tiles. If the clay is too sandy, blend it. If it is too sticky, open it with sand or grog. If it fires with lime pops or salt scum, either adjust the preparation or keep it for non-functional work. And before you dig, check local rules and land access; for food-contact use, seek professional testing and advice. The coast gives up interesting material, but it rewards the maker who samples slowly, labels carefully, and fires small before firing big.
Photo: Seda Nur Koç / Pexels
You Might Also Like
A practical costing checklist for small pottery studios, covering materials, kiln time, labor, overhead, and the wholesale and retail margins that turn a base cost into a fair shelf price.
Coastal humidity stretches drying times and sets traps for uneven pots. A season-by-season guide to reading the air, slowing the right things down, and firing crack-free.