Hand-Building vs. Wheel-Throwing: Which Approach Fits Your Goals?
Picture a pottery studio and you probably picture a wheel: a spinning disc, wet hands, a wall of clay rising under a sponge. That image is accurate, and it is only about half of what happens in a working studio. Somewhere behind the wheel, someone is rolling a slab flat between two wooden strips, or building a tall coil pot one ring at a time, and they are just as much a potter.
Hand-building and wheel-throwing are two routes to the same destination: fired clay that holds a shape and does a job. The difference lies in how you get there, how long you spend feeling clumsy, what you need around you, and which objects come naturally to your hands. Choosing deliberately at the start saves months of frustration. Choosing the "wrong" one is not a disaster, just a slower road with more detours.
What actually separates the two methods
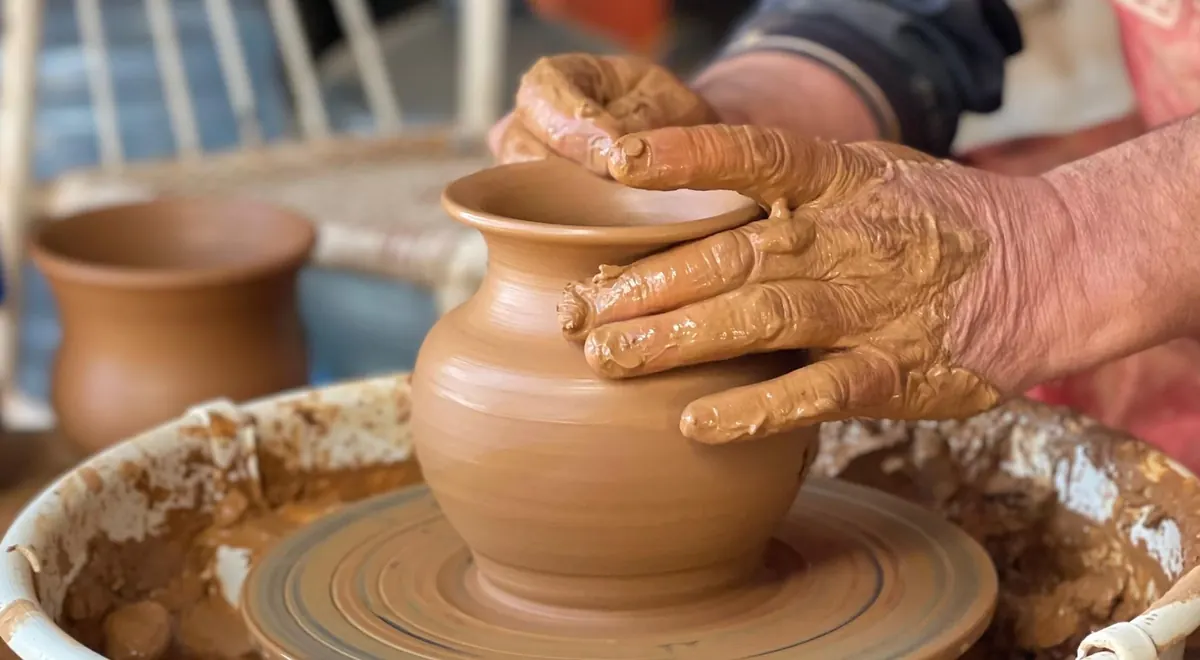
Wheel-throwing is a conversation with rotation. Everything you make is round, or round-derived, and your job is to control a spinning mass with water, pressure and timing. The clay moves; you persuade it. Learn to center and open a lump and a whole family of forms opens up — mugs, bowls, plates, cylinders, jugs, lids.
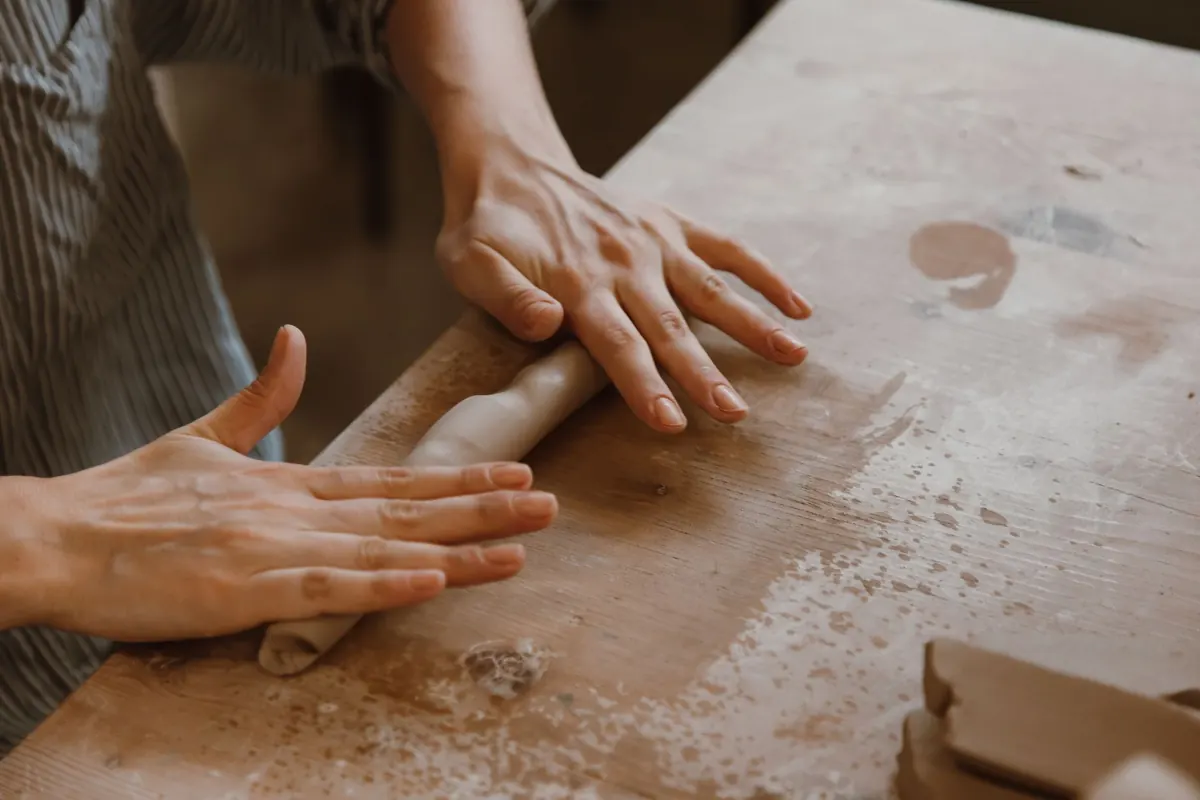
Hand-building is broader and more forgiving in shape. You pinch, coil, roll slabs, press clay into molds, carve and join. Because nothing is forcing the clay into a circle, you can build square, oval, asymmetric or sculptural. You can also build big, in sections, which is difficult on a wheel.
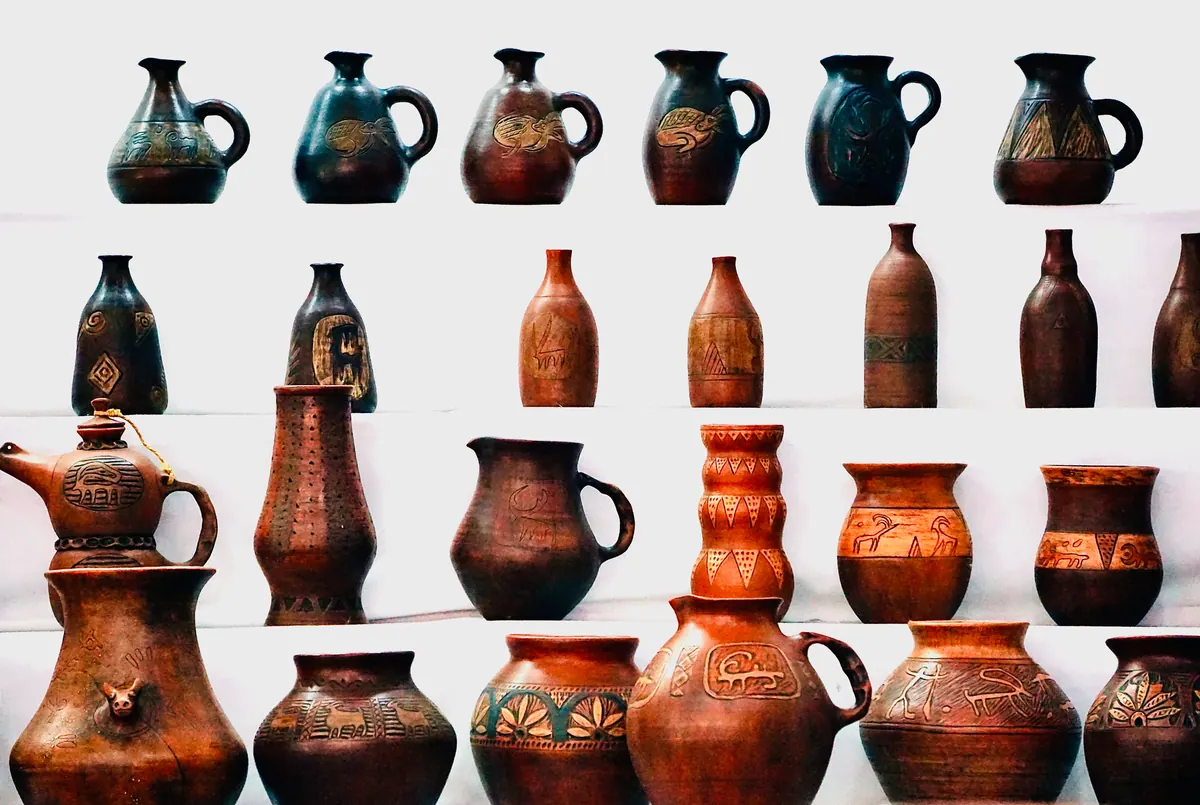
Neither method is the beginner version of the other. Some of the oldest pottery in the world is coil-built, and plenty of demanding contemporary work is slab construction with engineered joints. Both reward patience and punish rushed joins.
The skill curve, described honestly
First months on the wheel
Throwing has a steep early wall. Centering is the gate you have to pass through, and many beginners spend several sessions simply learning to keep a lump from wobbling. Clay collapses, walls go thick at the bottom and papery at the rim, and you re-wedge and start again. Progress comes in plateaus rather than a smooth climb.
The sequence you are working through looks roughly like this:
- Wedge and weigh the clay so you start with a consistent lump.
- Center it on a bat or the wheel head, elbows braced against your legs.
- Open the floor without going through the bottom.
- Pull the walls in two or three passes, not ten small pinches.
- Shape the profile and refine the rim with a chamois or damp sponge.
- Cut off, dry to leather-hard, then trim the foot and attach handles.
That is a lot of physical coordination to build. The compensation is speed and repeatability once it clicks: a potter with a few years of practice can throw a set of six matching mugs in an afternoon.
The hand-building curve
Hand-building gives you a satisfying object on day one — a pinch pot, badly uneven and completely yours. The difficulty arrives later and more quietly. Coils that look even but slump. Slabs that warp in the kiln because they were rolled unevenly. Seams that crack because the join was scored and slipped but not compressed.
Because the failures are slower to appear, hand-builders often learn by diagnostic rather than by collapse. You find out a week later what went wrong. That makes note-taking more valuable than in throwing, where the wheel tells you immediately.
Tools: what you need and what can wait
On the wheel
- A wheel, or reliable studio time on one
- Bats for pieces you want to lift off whole
- A throwing sponge and a bucket of water
- A wooden rib and a soft rubber rib for shaping and compressing
- A needle tool, wire cutter and calipers
- Towels, and a floor that can get wet
At the table
- A sturdy board or wedging table you can carry
- A rolling pin, plus two straight strips as thickness guides — or a slab roller if you have the space
- A fettling knife, a scoring tool (a fork works fine) and a rubber rib
- A spray bottle and plastic sheeting for controlled drying
- A hump mold or an upturned bowl for draping slabs
- A banding wheel, which costs little and makes everything easier
The wheel is the big purchase, and it is rarely the right first one. Kiln access is the constraint that actually decides what you can make, so settle that question before you spend anything on equipment.
Space, water and dust
Throwing wants a semi-permanent home. The wheel needs to sit level and stay put, water and slip travel, and clay settles into anything it can reach. Never rinse clay water down a household drain; let it settle in a bucket and dispose of the sludge with the solids. Good ventilation and a floor you can mop matter more than square footage.
Hand-building can live on a kitchen table with a board on top, which makes it far easier to pack away in a small flat. The trade-off is dust. Dry clay scraps, sanding and trimming all release fine silica particles, so work damp where you can, wipe surfaces with a wet sponge rather than sweeping, and keep dry sweeping to a minimum.
Both methods need a shelf of work wrapped in plastic, drying slowly and evenly. Slow drying prevents more cracks than any tool you can buy.
Which forms each method suits
Wheel-throwing suits anything radially symmetrical and volume-led: mugs, bowls, plates, cylinders, tall vases, lidded jars, planters. It is the natural choice for matching sets and for tableware you want to feel consistent in the hand.
Hand-building suits what the wheel resists. Oval serving platters, rectangular boxes, tiles, slab-built lamp bases, oversized pots assembled in sections, textured surfaces, figurative pieces, anything with a flat face or a sharp corner. It is also the better route for sculptural work where the shape, not the volume, is the point.
Most experienced potters blur the line anyway. A thrown cylinder can be altered into an oval once it firms up. A slab body takes a thrown rim. Hand-rolled handles finish thrown mugs. Treat the two as one toolbox rather than two camps.
How to choose, and when to stop choosing
Ask yourself a few plain questions. Do you want repeatable tableware? Lean toward the wheel. Are you drawn to sculptural, square or oversized forms? Lean toward slabs and coils. Can you get to a wheel regularly, or is it a once-a-month treat? Irregular practice punishes throwing far more than hand-building. How much cleanup can you tolerate on a Tuesday evening?
If the answers conflict, spend a month on both instead of agonising. The clay will tell you more in four sessions than any comparison can.
A sensible first month
Buy one bag of clay you can afford to waste — around ten kilos is plenty — and five tools: a wire cutter, a wooden rib, a needle tool, a sponge and a scoring tool. Add a board and a roll of plastic. That kit covers both methods.
Take a wheel class before you buy a wheel. Ask your local studio about kiln access for outside work, and read their rules before you make twenty pieces you cannot fire. Keep a small notebook with the clay body, the weight, the drying time and what cracked. Photograph everything, including the failures, because a photo of a cracked seam is worth more than a memory of it.
Fire selectively. Not every pot needs to go in the kiln, and greenware you are unsure about can go back into the reclaim bucket to become tomorrow's practice. The method you choose matters less than the number of hours your hands spend in clay — so pick the one that makes those hours easy to arrange.
Photo: ROMAN ODINTSOV / Pexels
You Might Also Like
A practical field guide to finding, sampling, and testing wild clay along Italy’s coast, with safe collecting habits and simple tests for potters.
A practical costing checklist for small pottery studios, covering materials, kiln time, labor, overhead, and the wholesale and retail margins that turn a base cost into a fair shelf price.